Start an Embroidery Store on Shopify (Step-by-Step Setup Guide)
Build an embroidery personalization workflow with Shopify variants, Podifai options and a clear production handoff. Separate the visual preview from digitization and sample approval.

By Chelsea Tang, Founder of Podifai · LinkedIn
TL;DR: To sell personalized embroidery on Shopify, keep the base product and stock in Shopify variants, collect names or logos with product options, and show a configured preview. Then pass the order details to your embroidery supplier for digitization and sample approval. Podifai can collect personalization and generate supported PNG artwork; it does not convert fonts or images into DST, PES, or EXP stitch files.
A workable embroidery store needs more than a text box. The shopper must understand the design they are ordering, and your production team must receive enough information to make it. Start with one product, one approved embroidery area, and a small selection of fonts and thread colors that your supplier can reproduce.
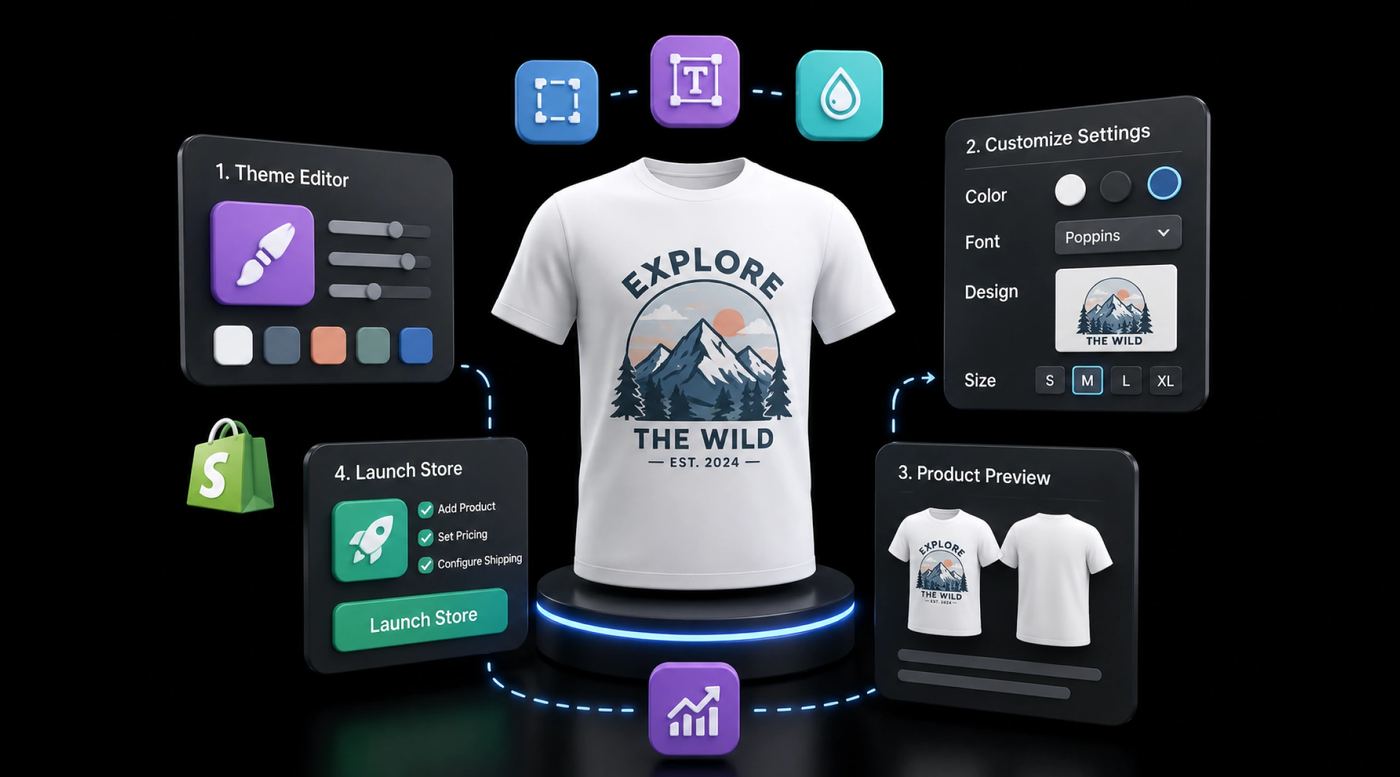
This guide covers a suggested Shopify setup using Podifai, with links to the Help Docs for each configuration step. Explore the storefront interaction in the linked demo, then approve the production workflow with your embroidery partner.
1. Choose how you will produce each order
Decide who owns digitization, sample approval, production, and shipping before building the storefront. A supplier's Shopify integration does not by itself prove that it receives and processes every custom name or uploaded logo from your product-options app.
| Production route | What you arrange | What to confirm before launch |
|---|---|---|
| Print-on-demand supplier | Base product, supported artwork, approval and order submission | How each personalized design reaches the supplier, digitization charges, sample quality and current delivery estimates |
| Local embroidery partner | Written job instructions, artwork and an agreed handoff | Accepted files, placement measurements, thread codes, approval process and capacity |
| Your own workshop | Blanks, equipment, digitizing software or service, labor and shipping | Machine format, hoop limits, sample results, production time and actual cost |
For a concrete supplier example, Printful explains its digitization workflow. It accepts standard artwork and performs digitization for its machines; it does not accept externally prepared DST, PES, or EXP files. Other production partners may require a different handoff, so confirm their requirements directly.
Avoid budgeting from a generic “cost per embroidered item.” Request a quote for your chosen blank, placement, design and order quantity, including digitization, samples, packing and delivery.
2. Separate the base product from personalization
Use Shopify variants for the item you hold stock against: for example, a navy polo in size medium. Use Podifai options for what the customer adds to it: initials, font, thread color or a logo upload. A personalization option does not automatically select a different Shopify variant or rewrite its SKU.
| Customer choice | Where to configure it | Example |
|---|---|---|
| Base size or stocked garment color | Shopify variant | Medium / Navy |
| Name or initials | Podifai Text Input | Customer-entered initials |
| Type style | Font Swatch linked to the text field | A supplier-approved typeface |
| Thread color | Color Swatch linked to the text field | A named thread color with a production code |
| Customer artwork | Image Upload | A logo for production review |
| Optional personalization | A choice with Conditional Logic | Show name fields after Add monogram is selected |
Follow the Shopify variants versus Podifai options guide. If the preview should follow the selected garment color, use Variant Image as the background and assign the correct image to each Shopify variant.
3. Configure text, fonts, colors and placement
Start with a name or monogram flow before adding more complex artwork choices. Keep the available combinations aligned with what your production partner has approved.
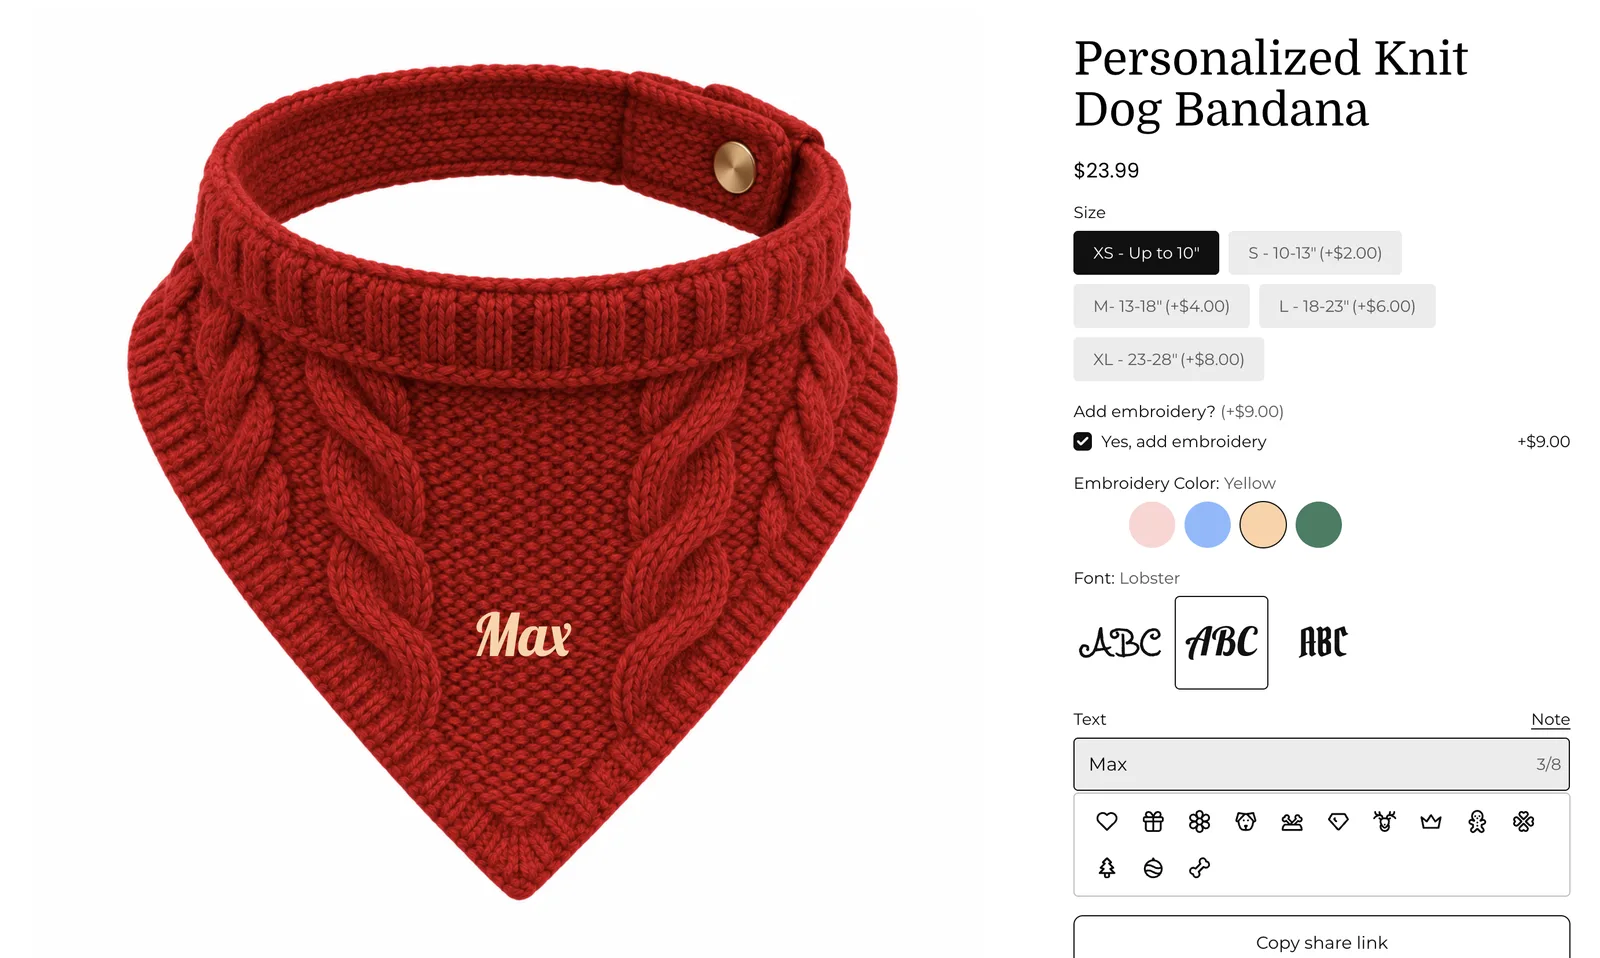
- Add a Text Input for the name or initials. Label the field clearly and set a character limit appropriate to the design area.
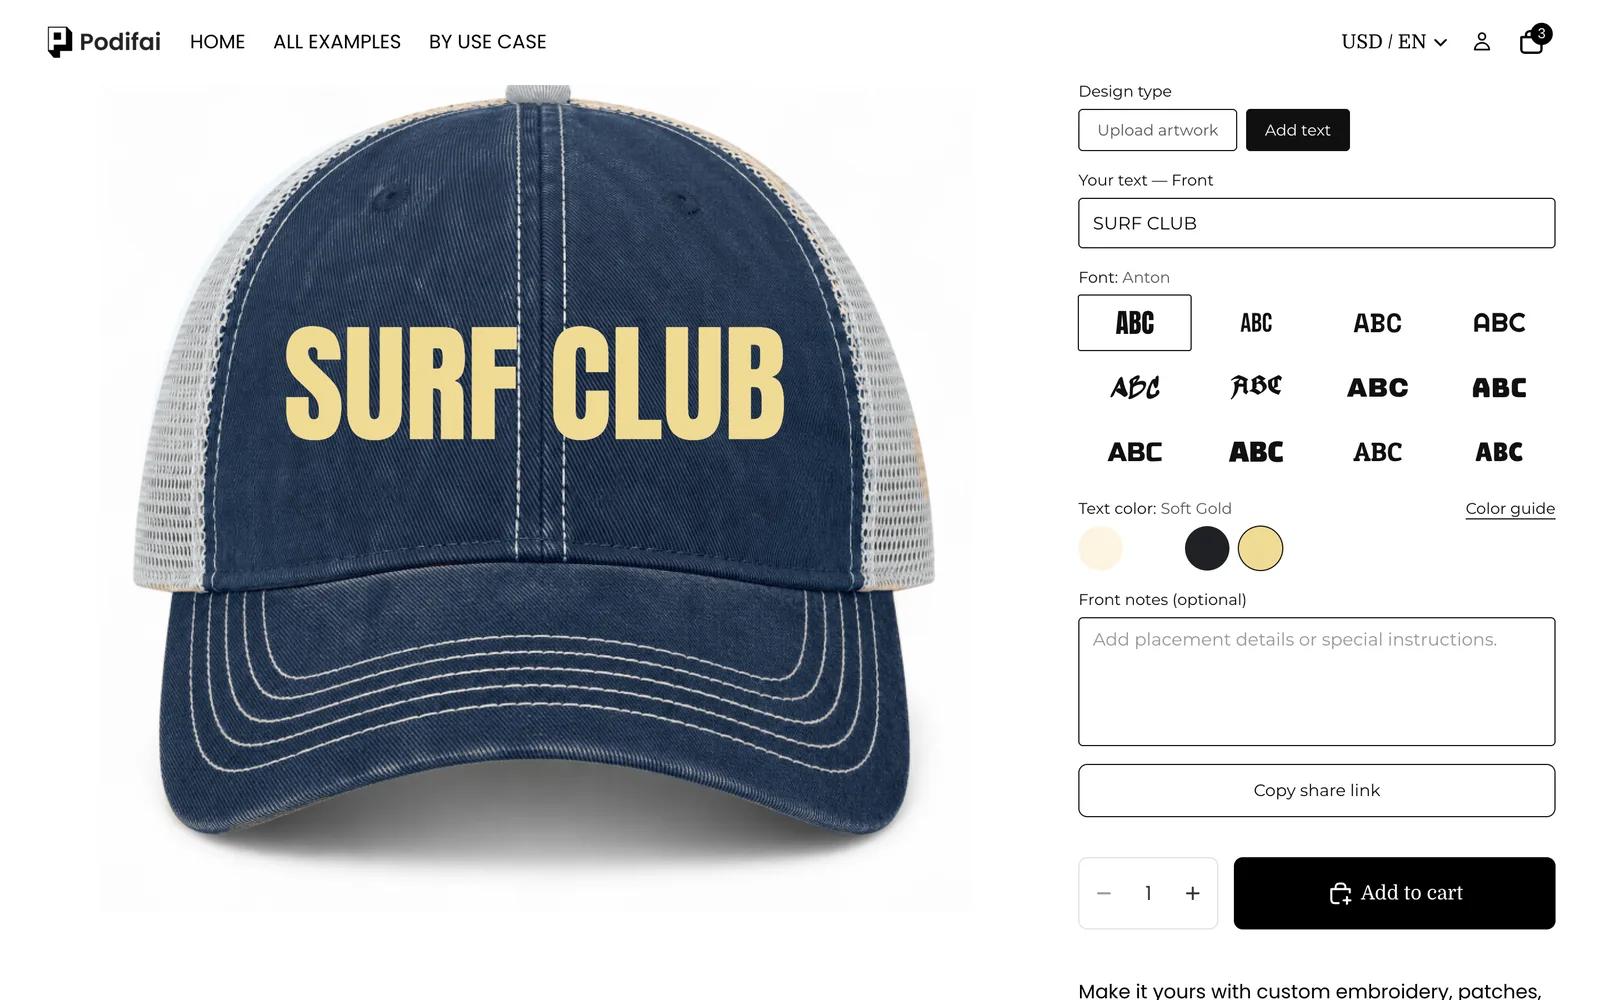
- Enable Live Preview for that text field in the Live Customizer panel. Position and size its layer over the product image.
- Add a Font Swatch, then link it to the text field. A preview font is not a digitized embroidery alphabet; confirm the production method for each offered style.
- Link a Color Swatch to the text field. Offer the thread colors your supplier supports, and use names or codes that your production team can identify. Screen color is a visual reference, not a physical thread match.
- For two- or three-letter monograms, configure the Font Swatch value's Monogram mode and match the text field's character limit. Explain the intended letter order to shoppers.
- Test short and long allowed entries. If you use fixed text width and automatic resizing, check that the smallest resulting text can still be embroidered legibly at the intended physical size.
Podifai's preview places configured text and artwork on a product image. It does not prove stitch density, thread texture or the finished fabric result. Show a photograph of an approved physical sample alongside the preview when you have one.
Try a real personalization demo
Open the canvas and leather tote demo to explore initials, font choices and preview color. Use it to understand the shopper interaction before configuring your own embroidery product.
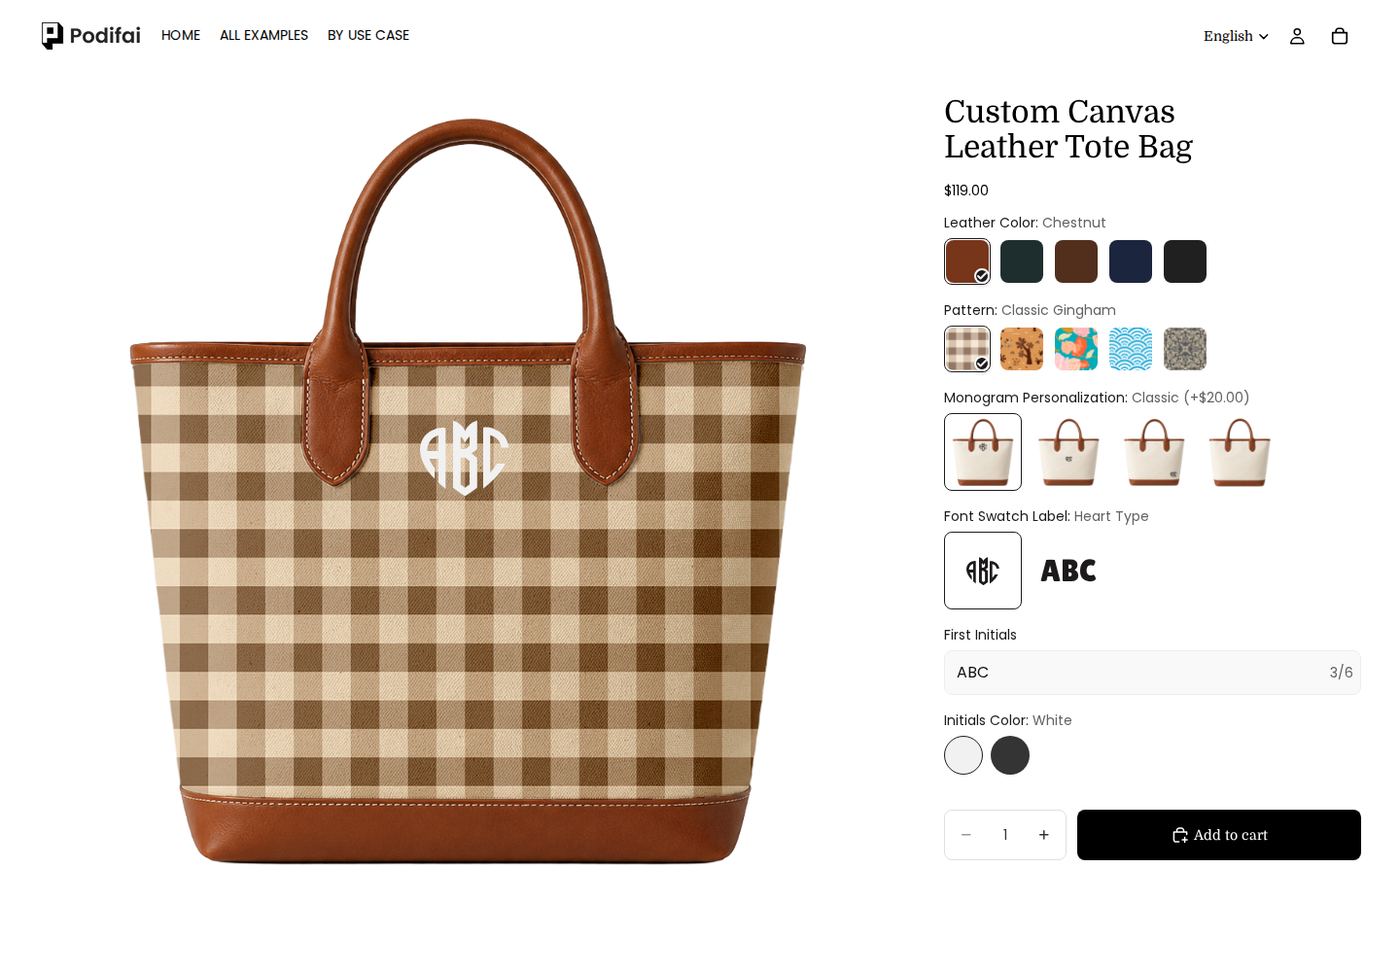
Try entering your own initials and changing the available font and color choices. For an embroidery product, offer only combinations your production partner can reproduce; this demo illustrates the storefront interaction.
Offer only the fields that apply
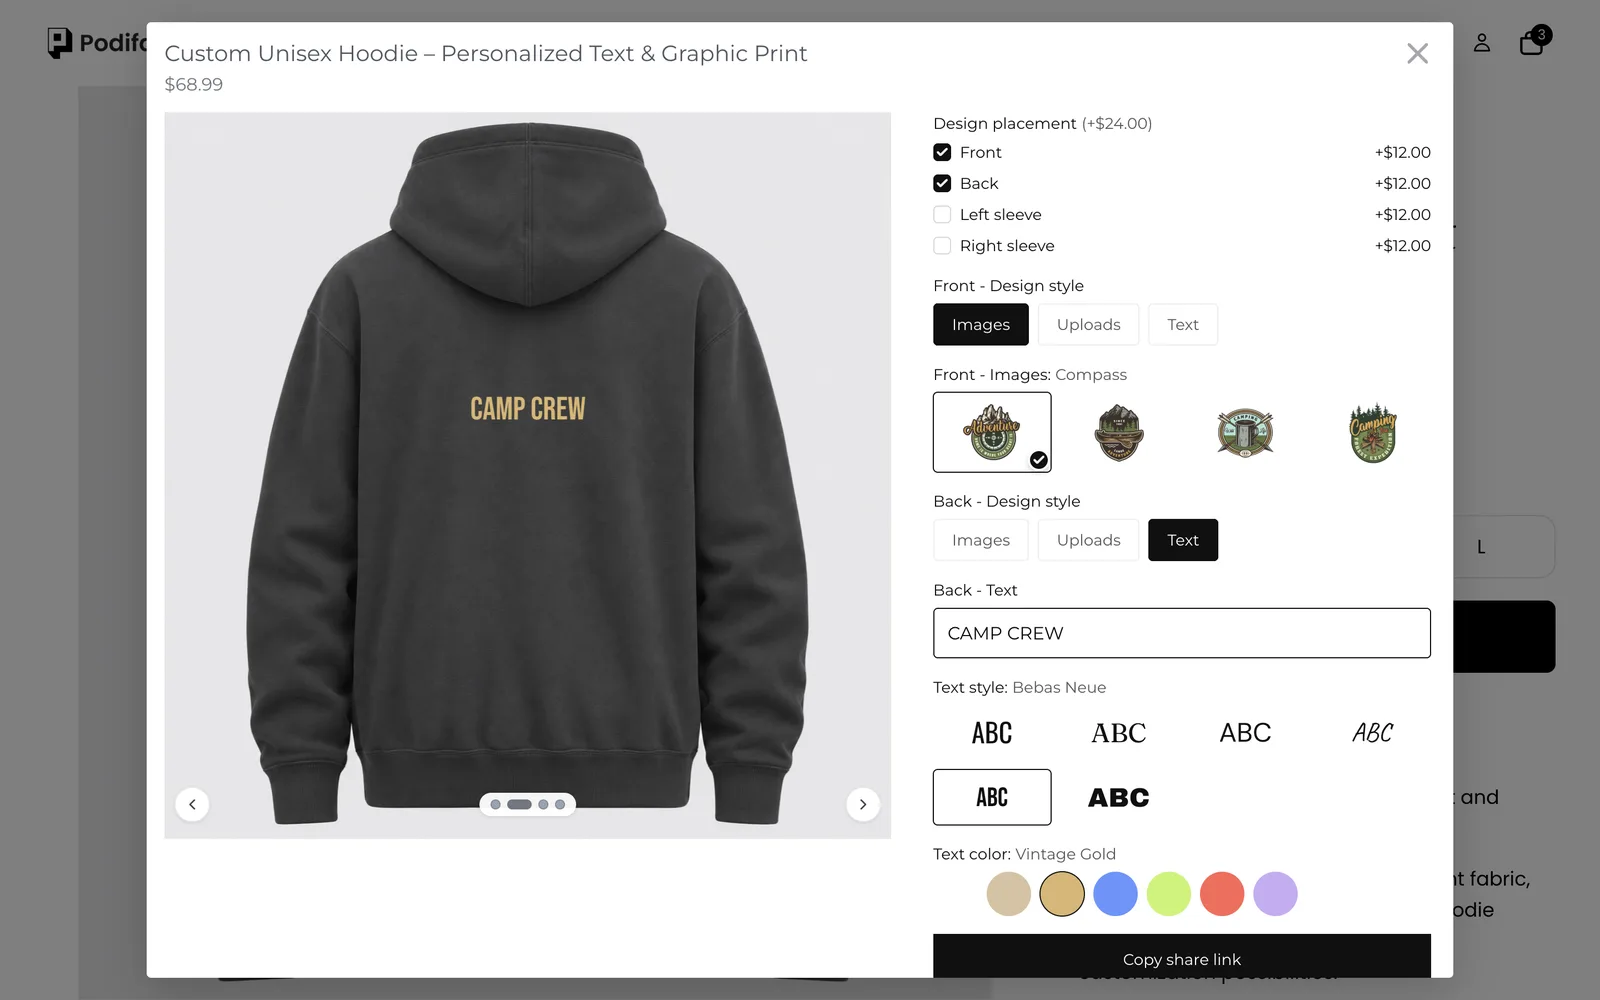
For an optional monogram, add a choice such as “Add monogram?” and show the dependent text, font and color controls when the shopper selects Yes. For a logo path, show the upload field after the shopper chooses that path. Configure these rules using Conditional Logic, then test switching between both choices.
For fixed placement choices, such as left chest or sleeve, create separate text or image options at the intended preview positions and show the appropriate one with Conditional Logic. Confirm that each placement has a production specification; a position on a mockup is not a measurement for the embroidery machine.
If you accept customer logos, configure Image Upload and explain your supplier's artwork requirements. Accepting an upload does not confirm that its detail, lettering or resolution is suitable for stitching.
4. Set prices from your actual production costs
Build the selling price from the blank product, embroidery work, digitization where required, packing, fees, shipping and your desired margin. Use your supplier's quote or measured workshop costs. There is no universal embroidery markup, launch budget or guaranteed profit margin.
Podifai's Dynamic Pricing supports configured fixed or percentage price adjustments and linked Shopify variant pricing. A fixed charge is useful when you have agreed a predictable price for a monogram or an extra placement. This is an option price rule, not an automatic stitch-count estimate.
For illustration only: if your base item is $30 and the selected personalization has a fixed $8 charge, the configured total is $38 before tax and shipping. These numbers illustrate the setup; they are not a supplier quote or a recommended retail price.
If you use percentage adjustments, Podifai uses the product's current effective price after a Shopify sale, not its compare-at price. Multiple percentages use the same base and are added together. Quantity-based or tiered option pricing is not currently supported; arrange a separate quotation process for jobs that require volume pricing.
Test the configured total on the product page, in the cart and at checkout. Include a paid personalization, an unpersonalized choice and any sale or market-pricing setup your store uses.
5. Prepare the production handoff
Embroidery digitization converts artwork into machine instructions for stitches. It is a separate production step from displaying a product preview or exporting an image. Agree with your supplier or digitizer who performs it, which files they accept and when a changed name, size or design requires new work.
What Podifai saves with the order
Podifai attaches customization choices to Shopify line items. The order can include the customer's text, selected options, upload links and a generated final preview link. Review these in Shopify Admin or Podifai Orders using the Managing Orders guide.
Define a job sheet containing the base SKU, exact customer text, font, thread code, placement, physical dimensions and the approved artwork version. Some of these are your own production specifications; do not assume the app calculates them from the preview. Confirm that whoever produces the order can access the saved upload and interpret every selection.
What the optional PNG output contains
In Podifai settings, find Order details and set Generate print-ready files to Yes. This shop-wide setting is off by default. With valid saved print data, Podifai generates a transparent PNG for each view containing included customization, available in an order ZIP when generation completes.
The output includes supported Live Preview text and customer-uploaded images. Product photos, mockup backgrounds and Image Swatch artwork are excluded. A view containing only a product background and Image Swatch artwork has no included customization to export. Original customer uploads remain available separately.
The PNG is flattened artwork, not a stitch file. Check the physical dimensions and contents before sending it for digitization. A transparent canvas also does not automatically remove a background already inside an uploaded logo. See Generate Print-Ready Files for the full settings and output limits.
Approve the stitched sample
Use your supplier's design requirements for the selected product and embroidery technique. For example, Printful's embroidery guidelines cover lettering, line thickness, colors and spacing. Requirements vary by technique; do not apply one product's settings to every item.
Have a sample stitched at the actual production size. Inspect text legibility, spacing, thread color and placement on the chosen fabric. Resolve any changes before offering that design to customers. Confirm delivery estimates with the production partner and explain any artwork-approval step on the product page.
6. Test the full flow before accepting orders
Run these checks with your own theme, checkout and chosen production partner before accepting customer orders.
- Check a short name, the longest permitted name and each offered font on desktop and mobile. Confirm that text remains visible and physically producible.
- Change the Shopify size and color, then confirm the correct variant is added to cart with its personalization.
- Switch personalization on and off, and switch between text and upload paths. Check the visible fields, saved selections and final charge.
- Place a test order through your checkout. Verify the exact text, options, uploads and price in the order record; a preview screenshot alone is not enough.
- If you use PNG output, enable it before the order and inspect the generated files. Confirm included layers and dimensions with the production team.
- Send a sample job through the actual supplier handoff. Confirm the received instructions, approval step, stitched result and turnaround before promising delivery to customers.
Frequently asked questions
Does Podifai turn fonts or logos into embroidery stitch files?
No. Podifai provides personalization controls, configured visual preview, saved order details and optional supported PNG output. DST, PES or EXP generation requires a separate digitization workflow compatible with your production partner or machine.
Can I send a Podifai PNG directly to my embroidery supplier?
Only if the supplier accepts it as input artwork. It still needs the supplier's production review and digitization workflow. Check the design size, included layers and artwork guidelines first; a PNG download does not establish production approval.
Do I need a Shopify variant for every customer's name?
No. Keep the base SKU, size, stocked color and inventory in Shopify variants. Collect individual names and other personalization using custom options saved with the order.
Does a supplier integration automatically fulfill personalized orders?
Do not assume so. Confirm how each customer's text, selected options and artwork reach the supplier, and whether manual approval or digitization is required. Test one complete order before enabling automated routing.
Which fonts, colors and products should I launch with?
Start with combinations your production partner can reproduce and that you have approved on a physical sample. Add choices after validating their legibility, production cost and lead time. The right selection depends on your audience and production setup.
Build your first product
Start with the tote personalization demo, then follow the Text Input setup guide. For the broader workflow, explore Shopify product options and Live Preview.
Reviewed October 8, 2026 against Podifai Help Docs and the linked supplier documentation. Confirm production requirements for your chosen product, placement and embroidery technique.